The 4 Key Points for Optimal Use of Omnicast VR with Meta Quest
Master the 4 crucial steps for Omnicast VR with Meta Quest : Developer Mode setup, sleep mode management, single WiFi network, and initial wired connection. Optimize your streaming sessions.

The 4 key requirements for an optimal experience with Omnicast VR and Meta Quest.
Unlike other standalone headset brands, Meta Quest devices feature certain characteristics and restrictions that users must be aware of.
1- Special Preparation for your VR Headsets
A- Enable Developer Settings
Your headsets must be in Developer Mode with USB Debugging enabled.
Here are some articles to activate Developer Mode on Meta Quest headsets:
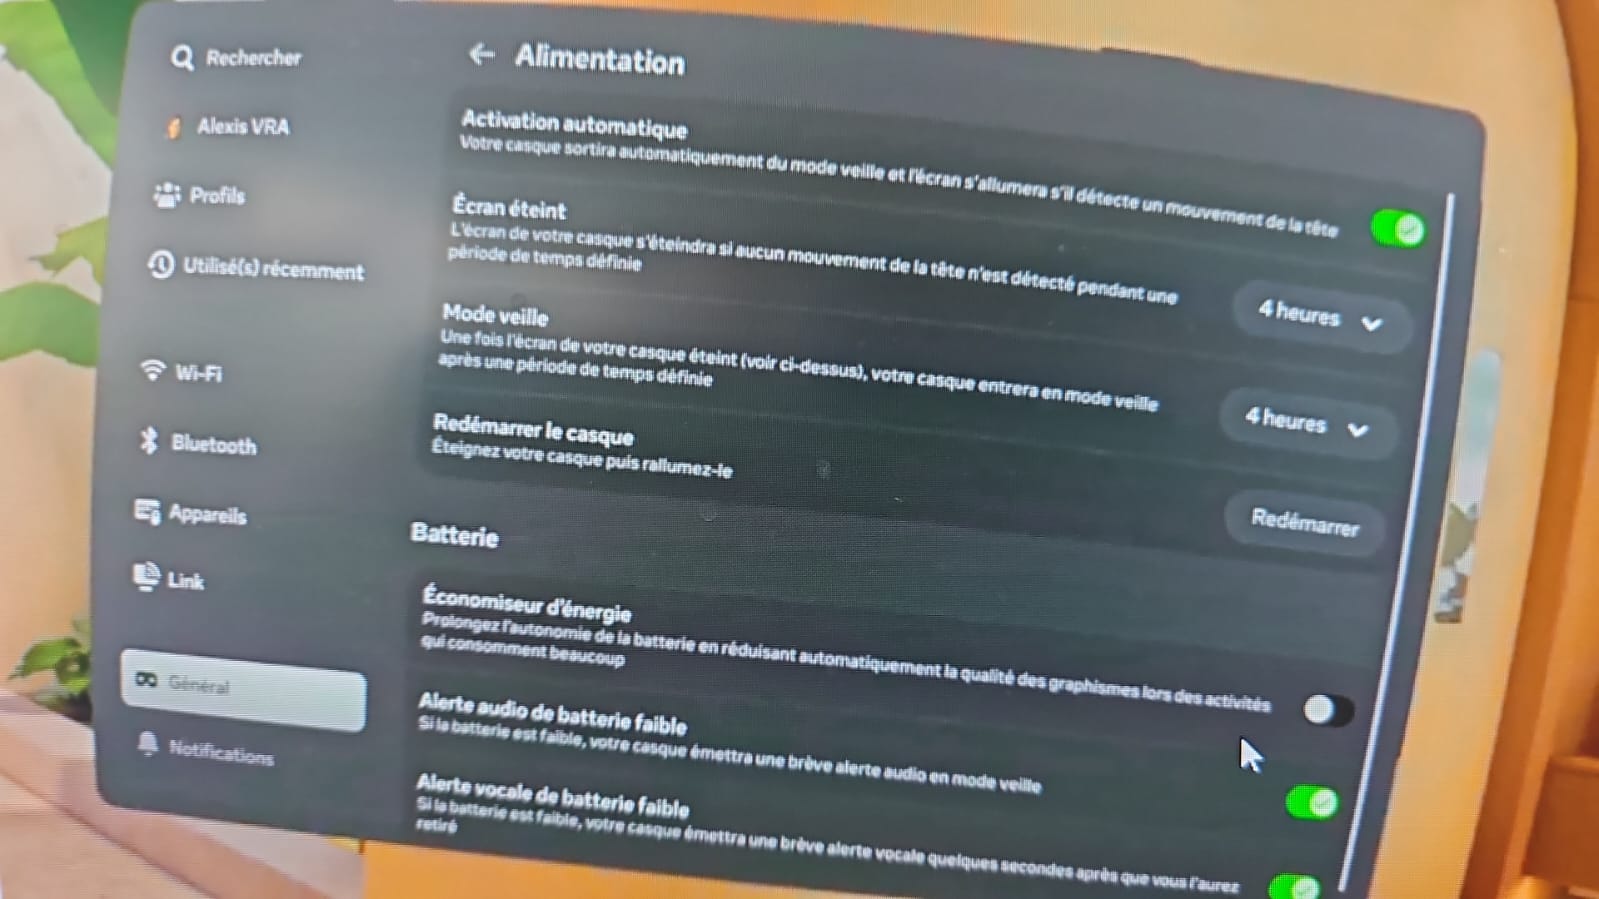
B- Adjust Headset Sleep Modes
In your VR headset, go to Settings / Power and do the following:
• Set Headset Sleep to 4 hours: This prevents your headset from displaying a black screen during streaming.
• Set Auto Sleep Mode to 4 hours: Sleep mode will power off the headset and disconnect your ADB Wi-Fi connection.
2- Meta Operating System Restrictions
A- The in-app browser cuts the streaming function
For security reasons, the native Meta Quest browser will prevent you from streaming. As soon as you open the browser and launch the stream, it will be cut immediately. This does not happen if you launch an application, but if you return to the menu while the browser is running in the background, it will stop the stream.
Pro Tip 1: Remember to close the browser in the menu.
Pro Tip 2: You can download the Wolvic browser from the store; it works perfectly with the streaming function.
B- Partial volume control depending on the model
Controlling headset volume remotely is one of the features Omnicast offers. However, for unknown reasons :
This option is not accessible on Quest Pro, 3S, and 3.
It remains available on Quest 2 and Oculus GO.
Access the Training Center
You can access all our video tutorials, FAQs, and troubleshooting support in our dedicated onboarding space for Omnicast VR.
Training Center Modules
Install the Omnicast VR Software
Generate and Activate Your Pro License
ADB Connection and Streaming
Launch Advanced Streaming
Device Manager
Tips & Tricks
Prepare Your Headsets
Install and Select Applications
Launch an Application on One or Multiple Headsets Simultaneously
Manage a Group VR Session


